
Introduction
Removing a battery from your Acer laptop can be necessary for various reasons, such as replacing a faulty battery or performing maintenance. Understanding the correct method for your specific laptop model is crucial to avoid potential damage to your device. This comprehensive guide will help you safely and effectively remove different types of batteries from Acer laptops, ensuring you complete the process with ease and confidence.
Understanding Acer Laptop Batteries
Before you start, it’s essential to know the kind of battery your Acer laptop has. Knowing whether it features a removable or internal battery will determine the approach you need to take for removal. This distinction is especially important for ensuring you use the correct tools and techniques.
Types of Batteries: Removable vs. Internal
Older Acer models usually feature removable batteries, which can be accessed and removed without much difficulty. In contrast, newer Acer laptops are equipped with internal batteries that require opening the laptop’s casing.
Identifying Your Laptop Model
Check your laptop’s model number found on its underside, or consult the user manual. This information will help you understand the specific type of battery and guidance on removing it safely.
Preparing for Battery Removal
Proper preparation is key when it comes to safely removing a battery from your Acer laptop. Ensure you have everything required and are prepared to carry out each step safely.
Gathering Necessary Tools
Gather tools such as a Phillips screwdriver, anti-static wrist strap, and a clean, soft workspace to conduct your work. These items are vital to ensure a safe and damage-free battery removal process.
Safety Precautions and Powering Down
- Power off your laptop completely and disconnect all power sources.
- Press and hold the power button for several seconds to discharge any remaining electrical charge.
- Wear an anti-static wrist strap to prevent static damage to components.
Step-by-Step Guide to Removing a Removable Battery
For laptops with removable batteries, the process is straightforward and can be done quickly with the right steps.
Locating and Unlocking the Battery Latch
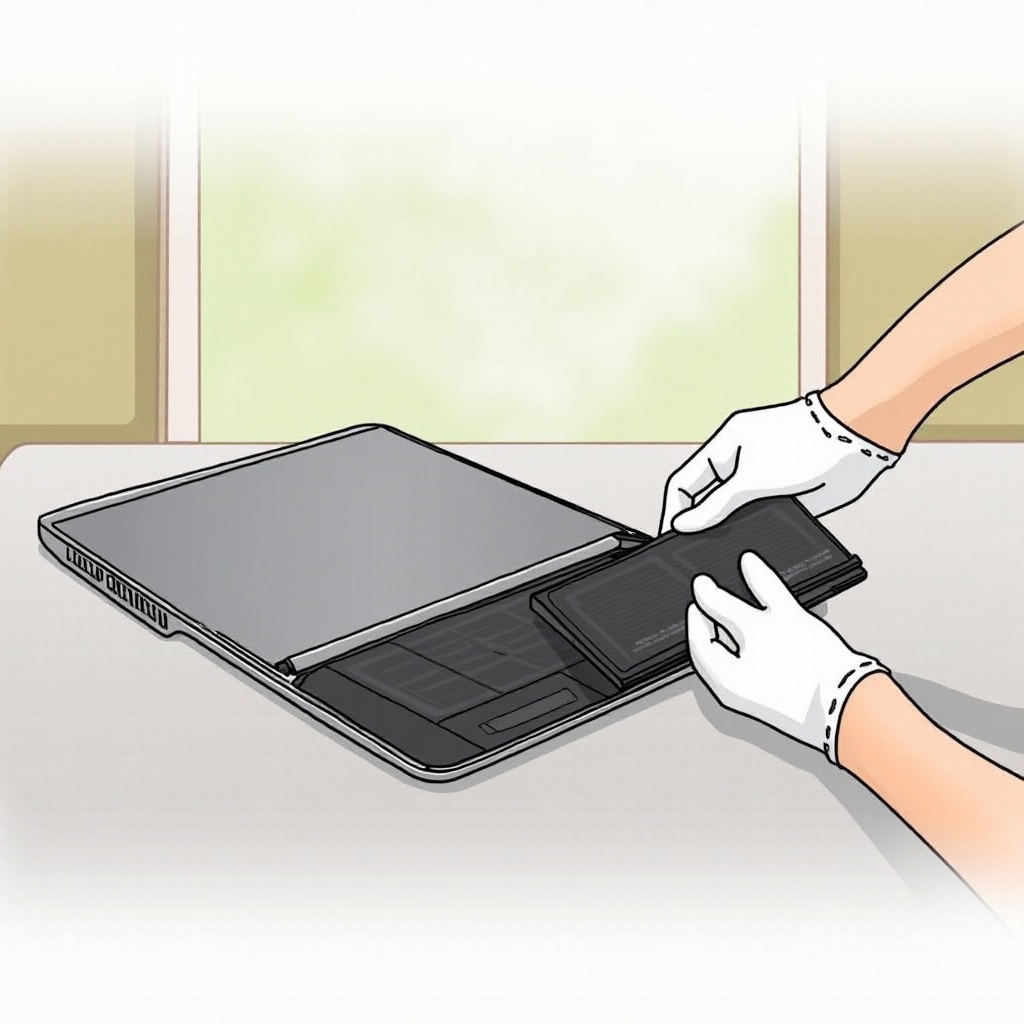
- Turn your laptop over to access the bottom panel.
- Find the battery latch mechanism, usually located alongside the battery.
- Slide or press the latch to release and unlock the battery.
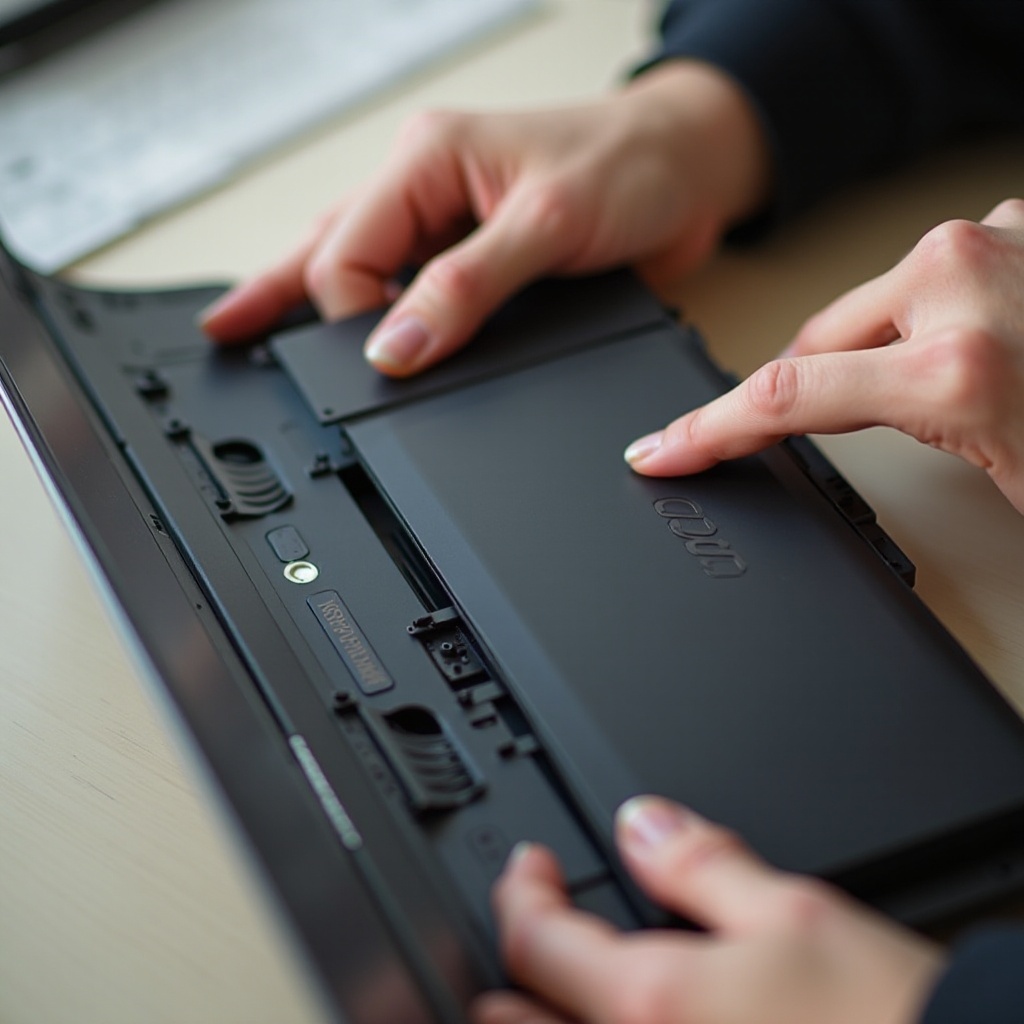
Safely Extracting the Battery
- Carefully pull the battery out from its compartment.
- Avoid touching the metal contacts when handling the battery.
- Store the battery in a cool, dry place if you plan to reuse it.
Step-by-Step Guide to Removing an Internal Battery
For modern Acer laptops with internal batteries, removal requires more in-depth steps but can be accomplished with careful handling.
Checking Warranty and Risks
Before proceeding, be aware that opening the laptop might void your warranty. Contact Acer support or verify warranty conditions to avoid potential issues with support claims.
Opening the Laptop Casing
- Unscrew the bottom panel using the Phillips screwdriver.
- Gently pry open the casing with a plastic tool, carefully separating it from the main body to expose the internal components.
- Organize screws and small parts for easy reassembly.
Disconnecting the Battery from the Motherboard
- Locate the battery connector on the motherboard, usually a cable or small plug.
- Gently disconnect the cable to free the battery circuit from the motherboard.
- Unscrew any screws securing the battery, then lift it out of the laptop safely.
After Battery Removal: Testing and Reassembly
Once the battery is removed, testing and reassembling becomes a priority to ensure the laptop’s continued functionality.
Reassembling the Laptop
- If a new battery replacement is being installed, connect it as the original was and secure it with screws.
- Carefully replace the bottom casing and screws to secure it.
Performing Functionality Tests
- Connect your laptop to a power source.
- Turn on the device to check its functional status and any new battery installations.
- Confirm the operating system detects the battery correctly and monitor its charging status.
Battery Disposal and Replacement
With the old battery removed, focus now shifts to its proper disposal and finding a suitable replacement.
Environmentally Friendly Disposal Methods
Dispose of your old battery responsibly by taking it to an authorized recycling center. Avoid throwing it in regular trash due to the hazardous materials it contains.
Choosing a Compatible Replacement Battery
Find a replacement from certified retailers or Acer directly. Ensure the new battery matches your laptop’s specifications in voltage and capacity for optimal compatibility.
Conclusion
By understanding the type of battery in your Acer laptop and following these detailed instructions, you minimize risk and maintain your device’s integrity. Successfully removing and replacing your battery preserves its functionality and ensures safety and efficiency.
Frequently Asked Questions
What happens if I remove the battery while the laptop is on?
Removing the battery while the laptop is on can cause data loss and damage. Always shut down completely before removal.
Can I replace an internal battery myself?
Yes, replacing an internal battery is possible with care, but professional assistance is advisable to avoid damage.
How often should I replace my Acer laptop battery?
Typically, consider replacing the battery every 2-3 years or when performance notably decreases.