
Screenshots are essential in capturing and sharing your screen’s content instantly. Whether it’s to save a conversation, capture an online image, or document a problem, mastering screenshot techniques on an iPhone 12 is vital. We’ll explore the multiple ways to take, edit, share, and manage screenshots, making your smartphone experience seamless and effective.
Introduction
The iPhone 12, with its advanced technology, allows users to efficiently take screenshots for a variety of purposes. Knowing the different methods available can enhance your ability to quickly document and share content. This guide will detail each process, from basic to advanced techniques, in harnessing the power of screenshots on your iPhone 12 efficiently.
Methods for Taking Screenshots on iPhone 12
iPhone 12 offers multiple methods to take screenshots, accommodating different preferences.
- Using Physical Buttons:
- Open the screen you wish to capture.
- Press the Side Button and Volume Up Button simultaneously.
- Quickly release both buttons.
-
A thumbnail will appear briefly at the screen’s bottom left.
-
Using AssistiveTouch:
- Enable AssistiveTouch by going to Settings > Accessibility > Touch > AssistiveTouch.
- Tap on the floating AssistiveTouch button.
- Select ‘Device’, choose ‘More’, and tap ‘Screenshot’.
Understanding these basic methods provides a foundation for exploring more sophisticated techniques. Mastering these ensures that capturing your desired screen content is always within reach, no matter the situation.
Advanced Screenshot Techniques
Taking screenshots can be enhanced with advanced methods, providing greater convenience and versatility.
- Using Siri for Voice Control:
- Activate Siri with ‘Hey Siri’ or press the Side Button.
- Command ‘Take a screenshot’.
-
Siri will capture the screen for a hands-free experience.
-
Taking a Screen Recording:
- Open Control Center by swiping downward from the screen’s top right.
- Select the Screen Record icon (add from Settings > Control Center if needed).
- The recording starts after a countdown; stop it by tapping the status bar.
By incorporating Siri and screen recordings, users have expanded options for documenting their screen interactions. This is particularly useful for dynamic content or detailed walkthroughs.
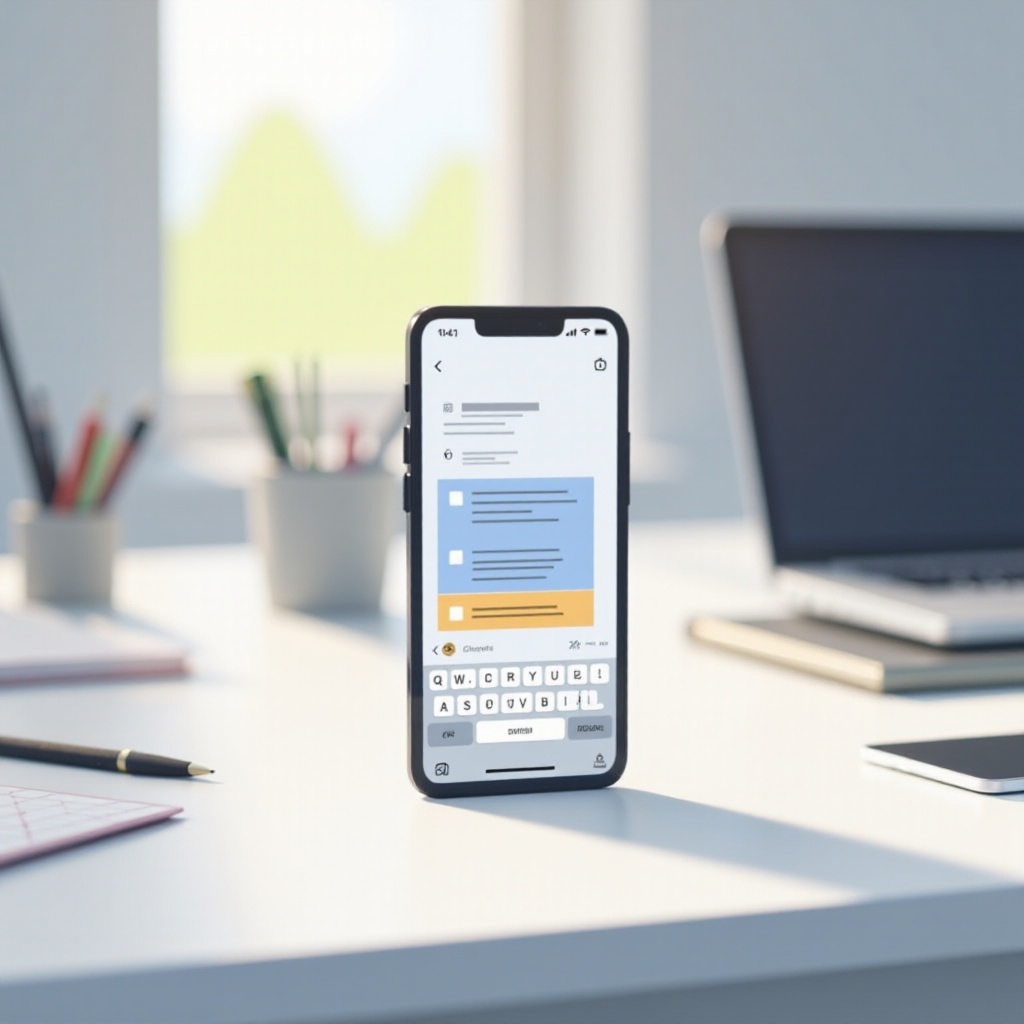
Editing and Sharing Screenshots
After capturing your screenshots, editing and sharing them enhances their effectiveness.
- Editing with Native Tools:
- Tap the thumbnail preview of your screenshot.
- Use the built-in editor to crop, annotate, and highlight.
-
Save edits by tapping ‘Done’.
-
Sharing Options on iPhone:
- Access the screenshot from the preview or Photos app.
- Use the ‘Share’ icon to distribute via Messages, Mail, or social networks.
- Save to Files for access across devices.
Managing your screenshots through editing and sharing elevates their functionality, allowing for immediate and effective communication of visual content on-the-go.
Organizing and Managing Screenshots
Efficient organization is key to maximizing the utility of your screenshots, preventing them from becoming lost or cluttered.
- Using the Photos App:
- View all screenshots under Photos > Albums in the Screenshots album.
- Organize by creating albums or folders for different categories or projects.
-
Utilize search by keywords or date.
-
Third-Party Apps for Management:
- Consider apps like Google Photos for additional features and storage.
- Use tags for better sorting and retrieval.
Establishing a systematic approach to storage keeps your media organized, reducing overhead and increasing productivity when accessing your needed screenshots.
Troubleshooting Common Issues
Sometimes, you may face challenges with taking or managing screenshots. Here are some simple solutions:
- Fixes for Screenshot Problems:
- Verify button functionality or restart the device if capturing doesn’t work.
-
Check for adequate storage to save new screenshots.
-
Resetting Settings:
- Navigate to Settings > General > Reset.
- Choose ‘Reset All Settings’ if other solutions fail (note: not a factory reset).
These troubleshooting tips ensure your device remains efficient in capturing and handling screenshots, enabling continued usability in cases of disruption.

Conclusion
Knowing how to effectively use the screenshot feature on your iPhone 12 opens up enhanced ways of communication and documentation. From basic to advanced methods, mastering screenshot techniques offers improved personal and professional interactions with your device.
Frequently Asked Questions
How can I screenshot without using buttons?
Enable AssistiveTouch or use Siri to take screenshots without pressing physical buttons.
Why isn’t my iPhone 12 screenshot working?
Check for hardware issues or full storage; both can prevent screenshots from being saved.
How do I take a partial screenshot?
Utilize the editing tools after capturing a screenshot to crop and focus on the section you need.