Introduction
Uncovering the inner workings of an external hard drive can be a rewarding endeavor. Whether it’s to troubleshoot an issue or satisfy your curiosity, knowing how to open your device safely is essential. This guide provides detailed steps for disassembling your external hard drive with confidence, alongside critical safety tips to protect both the hardware and your data.
Understanding External Hard Drives
External hard drives come in various types, predominantly Hard Disk Drives (HDDs) and Solid State Drives (SSDs). HDDs consist of spinning disks and mechanical parts, while SSDs utilize flash memory with no moving components. Understanding the type you have is crucial, as it influences how you approach opening it. People often need to access these drives for reasons like addressing operational issues, upgrading parts, or retrieving valuable data, making familiarity with your drive type beneficial.
Tools and Safety Measures
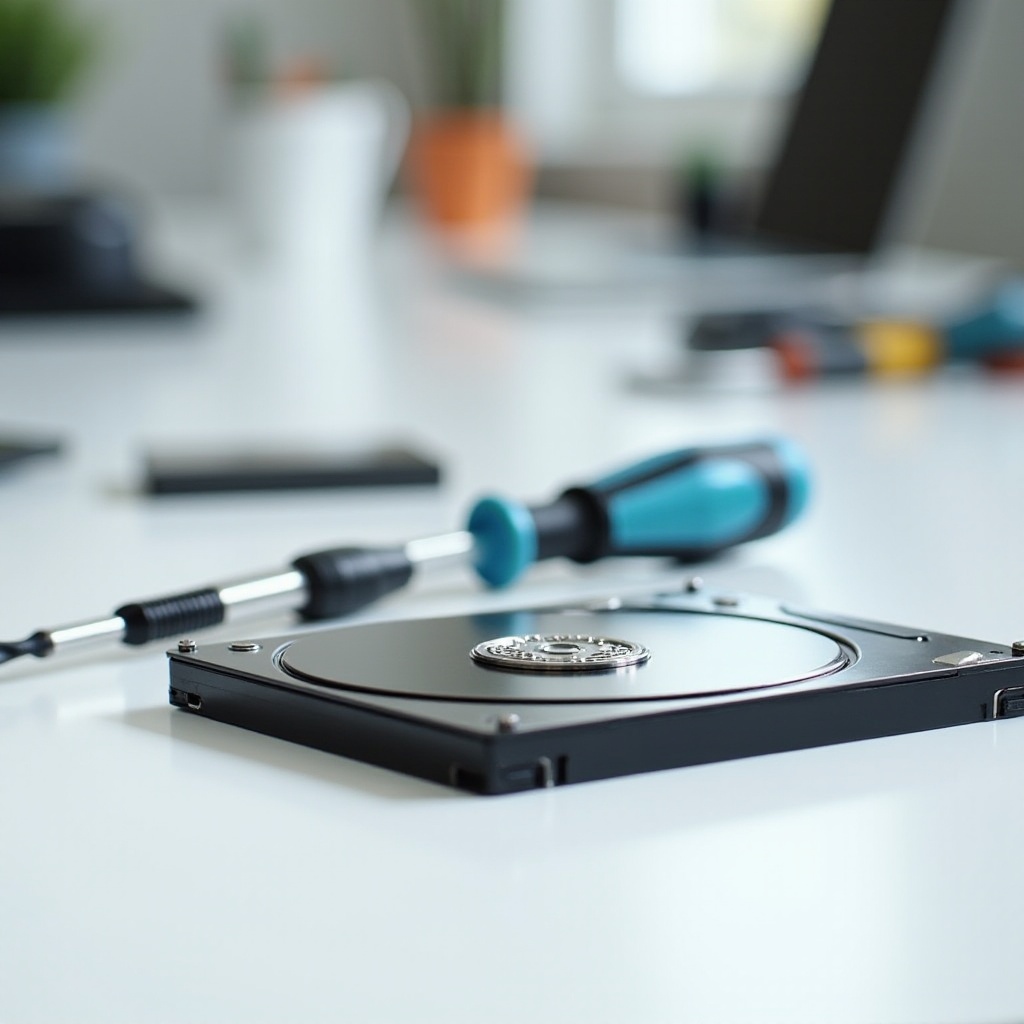
Preparation begins with gathering the right equipment. Essential tools include a small screwdriver set, an anti-static wrist strap for grounding, and a clean, organized workspace. Data should be backed up before you begin. Safety measures are vital: ensure your external hard drive is completely powered down and unplugged to prevent any accidents. These preparatory steps are crucial in avoiding damage and ensuring a smooth process.
Step-by-Step Guide to Opening an External Hard Drive
- Preparing Your Workspace: Arrange for a stable, clear area with good lighting.
- Disconnect and Power Down: To ensure safety, make sure the drive is detached from all power sources.
- Removing the External Casing: Locate and unscrew the fastenings holding the case together. Use a suitable prying tool for snap-fit cases.
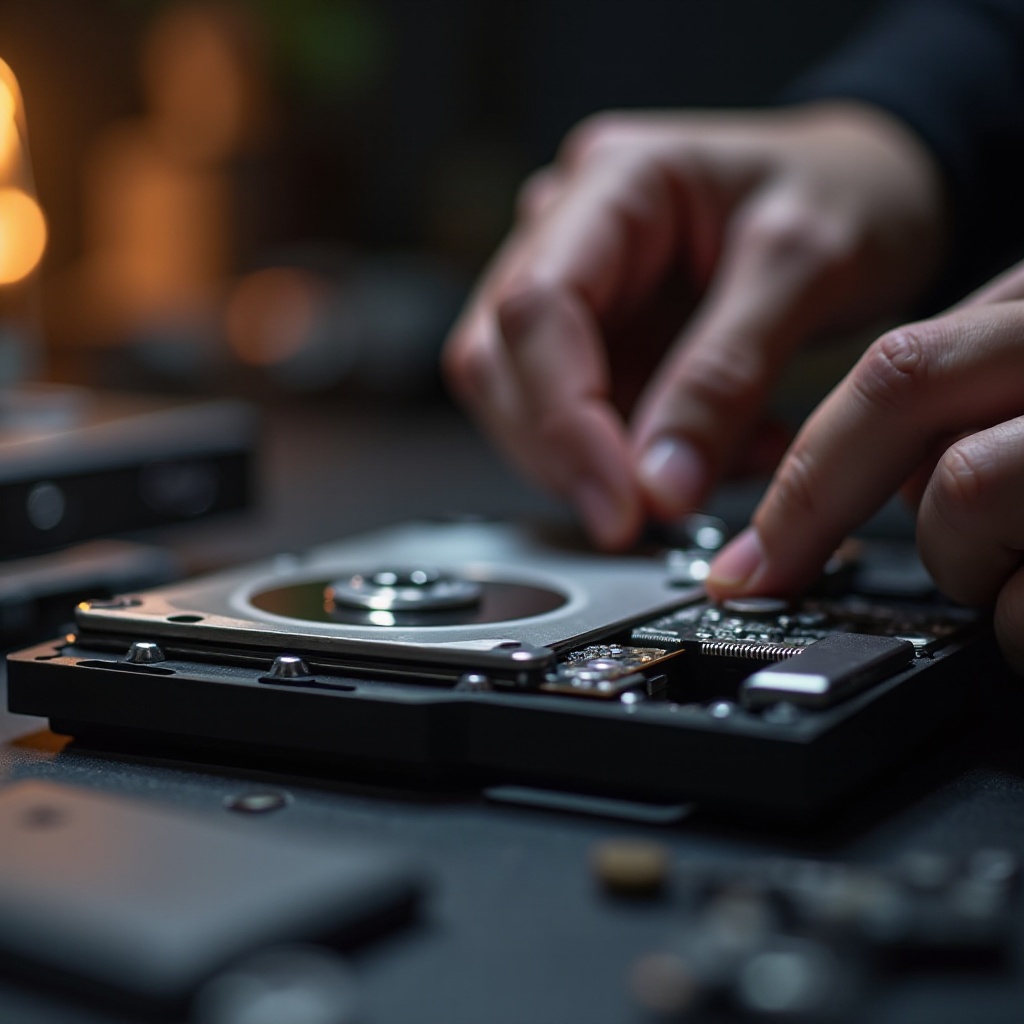
- Accessing the Internal Components: With the case open, proceed gently to access the drive. Be mindful of connecting cables and internal structures.
Troubleshooting Common Issues
Now that your drive is open, inspect the internal components for issues like disconnected cables or physical damage. Re-seating cables can often solve connectivity problems. Check for dust accumulation which might impede performance. If problems persist or if you notice significant physical damage, consider reaching out for professional repairs.
Reassembling Your External Hard Drive
Having addressed the internal issues, you must now put your drive back together. Carefully reattach any components and ensure all cables are securely connected. Replace the casing, fastening screws appropriately without overtightening. Finally, reconnect your drive to a computer to verify it functions correctly.
Conclusion
Successfully opening and inspecting an external hard drive requires patience and careful handling. From understanding your drive type to implementing proper disassembly and reassembly techniques, each step is essential for preserving your device’s functionality. Should you encounter unresolved issues, professional intervention may be the best course of action. Equipped with this guide, you have the knowledge to navigate external hard drive maintenance with confidence.
Frequently Asked Questions
What tools do I need to open an external hard drive?
You’ll need a small screwdriver set, an anti-static wrist strap, and a clean workspace.
Is it safe to open an external hard drive by myself?
Yes, if you take proper precautions like grounding yourself and disconnecting power sources.
What should I do if my external hard drive doesn’t work after reassembly?
Double-check all connections and screws. If issues persist, consider consulting a professional.