
Introduction
Maintaining the health and performance of your HP laptop is crucial, and ensuring the cooling fan is clean plays a significant role. Dust and debris can accumulate over time, leading to reduced airflow, overheating, and potentially damaging your device. By taking steps to clean the fan regularly, you can enhance your laptop’s efficiency and longevity. This guide will provide you with a detailed walkthrough for cleaning your HP laptop fan to keep it running smoothly.
Understanding the Importance of Fan Cleaning
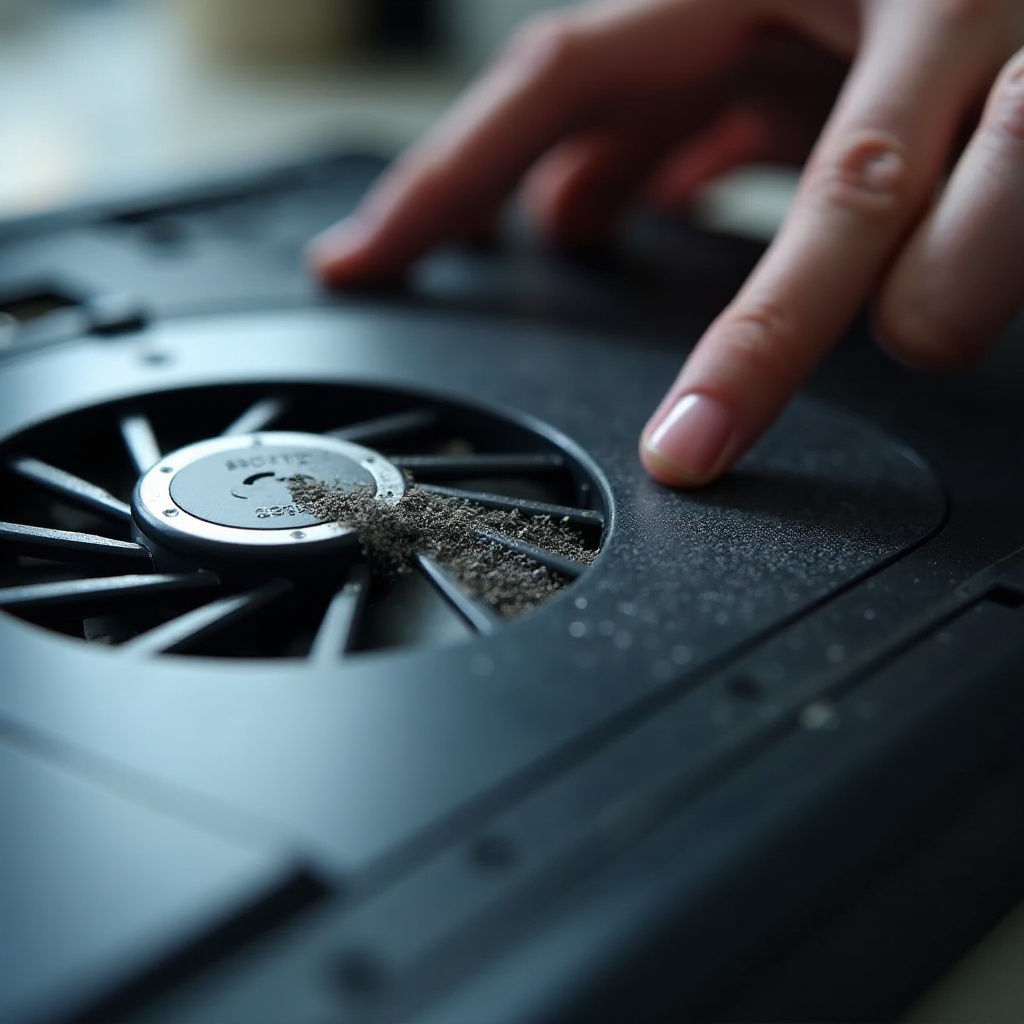
A laptop’s fan is vital in dissipating heat away from sensitive internal components. When dust builds up, it clogs the fan and restricts airflow, causing the laptop to work harder and produce more heat. This can result in slower performance and, over time, could lead to hardware failures. To prevent these issues, it’s important to clean the fan regularly. By doing so, you can maintain proper airflow and optimal performance, ensuring your laptop operates efficiently.
Preparing for the Cleaning Process
Before you start cleaning, preparation is essential to ensure a safe and effective process.
-
Back Up Important Data
Protect your data by backing it up. This is a precautionary measure to safeguard your files during the cleaning process. -
Assemble Required Tools
Gather a small Phillips screwdriver, a can of compressed air, a soft brush, and prepare a clean workspace. These tools are fundamental for the cleaning task. -
Safety Precautions and Powering Off
Ensure your laptop is powered off and unplugged. Disconnect all peripherals. If possible, remove the battery to prevent any electrical issues.
A well-prepared approach ensures a smooth transition into the disassembly phase.
Disassembling Your HP Laptop
Disassembling your laptop can open the path to effective fan cleaning. Careful handling is crucial during this process.
-
Identifying Your HP Laptop Model
Each HP model may require different steps for reaching the fan. Refer to the manual specific to your model to guide you through disassembly. -
Removing the Battery and Bottom Panel
For additional safety, remove the battery (if accessible). Use the Phillips screwdriver to take out screws securing the bottom panel. Organize the screws carefully. -
Accessing Internal Components Safely
Gently remove the bottom panel to reveal the inner workings of your laptop. Caution is essential to avoid damaging any connectors or components.
Once the internal components are exposed, you can initiate the cleaning process with a clear view of the fan.
Deep Cleaning the Fan
With the fan accessible, you can begin the deep cleaning process tailored to enhance performance.
-
Using Compressed Air for Dust Removal
Hold the can of compressed air upright and use short bursts to clear out dust from the fan blades. Maintain a safe distance to avoid damaging the fan. -
Brushing Off Stubborn Dust
Use a soft brush to gently remove any remaining dust on the fan blades and surrounding areas. Careful brushing prevents damage. -
Cleaning Other Dusty Components
While the panel is open, inspect and clean other parts like vents, heatsinks, and the motherboard using the brush and compressed air.
Thorough cleaning ensures optimal performance and longevity of your laptop’s fan and related components.
Reassembling and Testing Your Laptop
After cleaning, correctly reassembling your laptop is key to ensuring it functions as expected.
-
Reattaching Panels and Screws
Carefully position the bottom panel and secure it using the screws. Reinsert the battery if it was removed. -
Checking Fan and System Performance
Power on your laptop to confirm everything is operational. Listen for the fan to ensure it operates quietly and efficiently. Monitor the laptop’s temperature for assurance of improved performance.
Proper testing and reassembly guarantee that your laptop is ready for optimal use.
Tips for Maintaining a Clean Laptop Fan
Maintain your laptop fan’s cleanliness by incorporating these tips:
- Consider cleaning your fan biannually to prevent dust buildup.
- Use a cooling pad to enhance airflow and cooling.
- Avoid using your laptop on soft surfaces that can obstruct vents.
Consistent maintenance helps your laptop operate effectively and prolongs its lifespan.

Conclusion
Cleaning the fan in your HP laptop is crucial for keeping it running efficiently. By diligently following this guide, you can maintain optimal performance and prevent overheating. Regular maintenance not only protects your investment but also enhances your computing experience. Start taking proactive measures today to ensure your laptop’s continued efficiency and reliability.
Frequently Asked Questions
How often should I clean the fan on my HP laptop?
Ideally, clean the fan every six months. More frequent cleaning may be necessary for dusty environments.
Can I use a vacuum cleaner to clean the fan?
No, using a vacuum can create static electricity that might damage electronic components. Use compressed air and a brush instead.
What should I do if my laptop is still overheating after cleaning the fan?
Check if all airflow paths are clear and that the fan is working properly. Persistent overheating may require professional diagnosis.